The Bottom Line
Buy for the job in front of you, not for a full workshop. A rubber wheel assortment covers quick cosmetic wheel swaps, a mixed-length hollow axle kit handles stance and width fixes, and a matched 2-56 drill-and-tap system such as the Du-Bro 360, plus a handle, screws and a driver you source separately, is what makes a casting reopenable. For graphics, print on inkjet waterslide paper and seal it with clear acrylic before it touches water, and for small body or post cleanup, diamond needle files give you more control than a rotary tool. A compressor-fed airbrush kit only earns its place once you plan full repaints, and you’ll probably need to buy proper hobby paint for it.
If you already own a rotary tool, a screw supply you trust or a decal method that works, you may only need one or two items from this list.
How These Picks Were Chosen
This is a research-based guide. HotWheelsHub did not workshop-test these products; each pick is matched to one customizing job using manufacturer information, the exact Amazon listing details and general customizing technique. There are no scores here, because no consistent test data exists that would make a numeric ranking honest.
At-a-Glance Comparison
Each pick owns one customizing job, so read the table by the job you need done rather than top to bottom.
| Product | Best Category Role | Key Tool / Supply Type | Skill Level | Primary Function | Best For |
|---|---|---|---|---|---|
| WAVEIST HW01 Hot 1/64 Wheels, Sports Gold (10 sets) | Best 10-Set Rubber Wheel Pack for Multi-Car Swaps | Aftermarket rubber-tire wheel sets with axles | Beginner | Cosmetic wheel swaps | Several loose mainline-style builds from one pack |
| Du-Bro 360 2-56 Tap and Drill Set | Best 2-56 Tap-and-Drill Core for Reopenable Customs | Matched 2-56 tap and tap-drill pair | Intermediate | Threading drilled posts so the base screws back on | A repeatable screwed-base workflow |
| 30-Set 1:64 Mixed Hollow Axle Kit (22/25/28 mm) | Best Mixed-Length Hollow Axle Fitment Kit | Replacement hollow axles in three lengths | Beginner–Intermediate | Track width and stance correction | Working across narrow and wide castings |
| Printers Jack Clear Inkjet Waterslide Paper + Krylon K01303007 Crystal Clear Acrylic | Best Custom Decal Printing and Sealing Workflow | Printable decal film plus clear aerosol sealer (two products) | Beginner–Intermediate | Custom graphics | Names, numbers, stripes and small logos |
| SE 744DF-R 10-Piece Diamond Needle File Set | Best Precision File Set for Fender, Body and Post Cleanup | 150-grit diamond needle files | Beginner | Controlled hand material removal | Post cleanup and small fender or edge work |
| TIMBERTECH AS18-2K Airbrush Kit With Compressor | Best Beginner Airbrush and Compressor Starter Kit | Airbrush, compressor, hose, brushes, test paints | Beginner–Intermediate | Full body repaints | Customizers moving past spray cans |
On smaller screens, swipe the table horizontally to compare all columns.
1. WAVEIST HW01 1:64 Rubber Wheels
Buy it if: you want several rubber-tire wheel sets for loose mainline-style projects and you’re comfortable checking fit car by car.
Skip it if: you need a guaranteed axle width for one specific casting, or OEM-style wheel dimensions matched to a particular release.
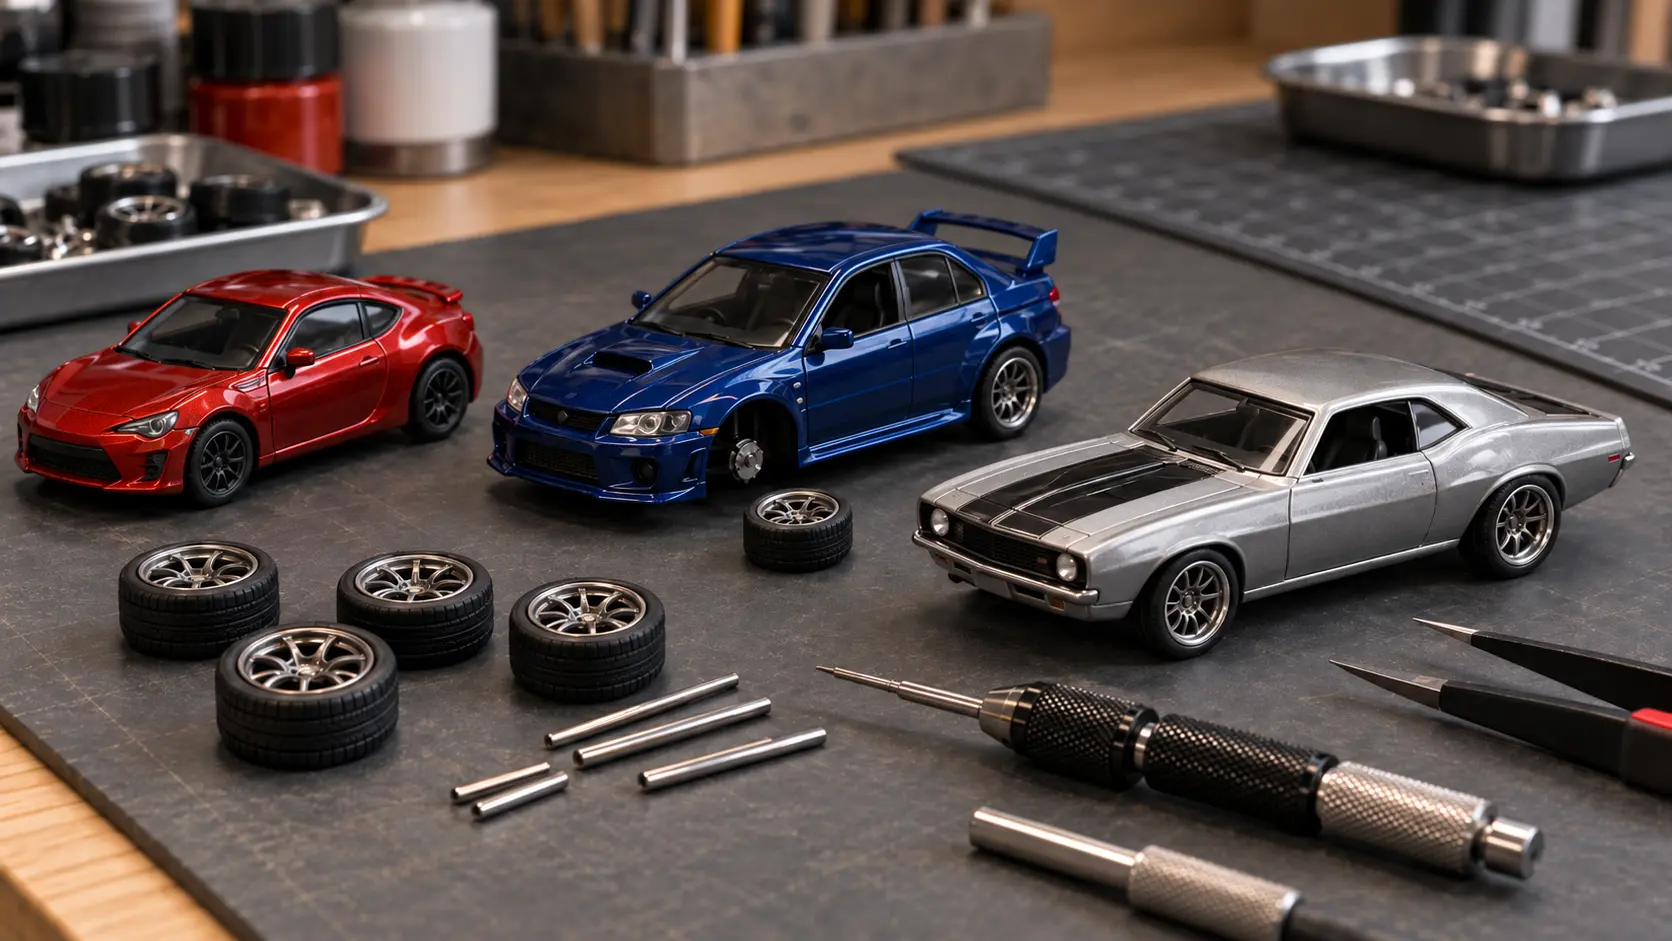
The WAVEIST HW01 pack is a straightforward way to put rubber tires on several loose cars without hunting for wheels one set at a time. Ten sets in one pack let you fit several castings from a single purchase, with sets left over for later projects or test fitting.
What You Get
- 10 aftermarket wheel sets, model HW01, sold as “Hot 1/64 Wheels, Sports Gold”
- Rubber tires on gold-finish rims
- 11 mm wheels and 30 mm axles, per the listing
- Intended for 1:64-style custom builds
Why It Fits This Role
Rubber tires are a quick visible upgrade on a mainline car, and a 10-set pack spreads that upgrade across several projects. If you’re new to customizing and working from loose mainlines, the difference between factory plastic wheels and rubber tires is easy to see; our Premium vs Mainline Hot Wheels comparison covers how the two lines differ if you’re deciding which cars to use as donors.
Where It Falls Short
- Fit is casting-specific. An 11 mm wheel can rub or sit too tall in a low or narrow wheel well, so check clearance against the car you plan to use.
- The included 30 mm axles may be too long for some castings. Measure the original setup before deciding whether to trim them or use a shorter replacement axle.
- Don’t assume mixed designs. The “Sports Gold” name points to a gold rim finish, and this guide doesn’t treat the pack as a source of different rim designs. If that matters to you, check the listing photos before buying.
2. Du-Bro 360 2-56 Tap and Drill Set
Buy it if: you want a repeatable screwed-base workflow and plan to source the handle, screws and driver separately.
Skip it if: you’d rather buy a customizer-specific bundle that already includes fasteners and supporting tools.
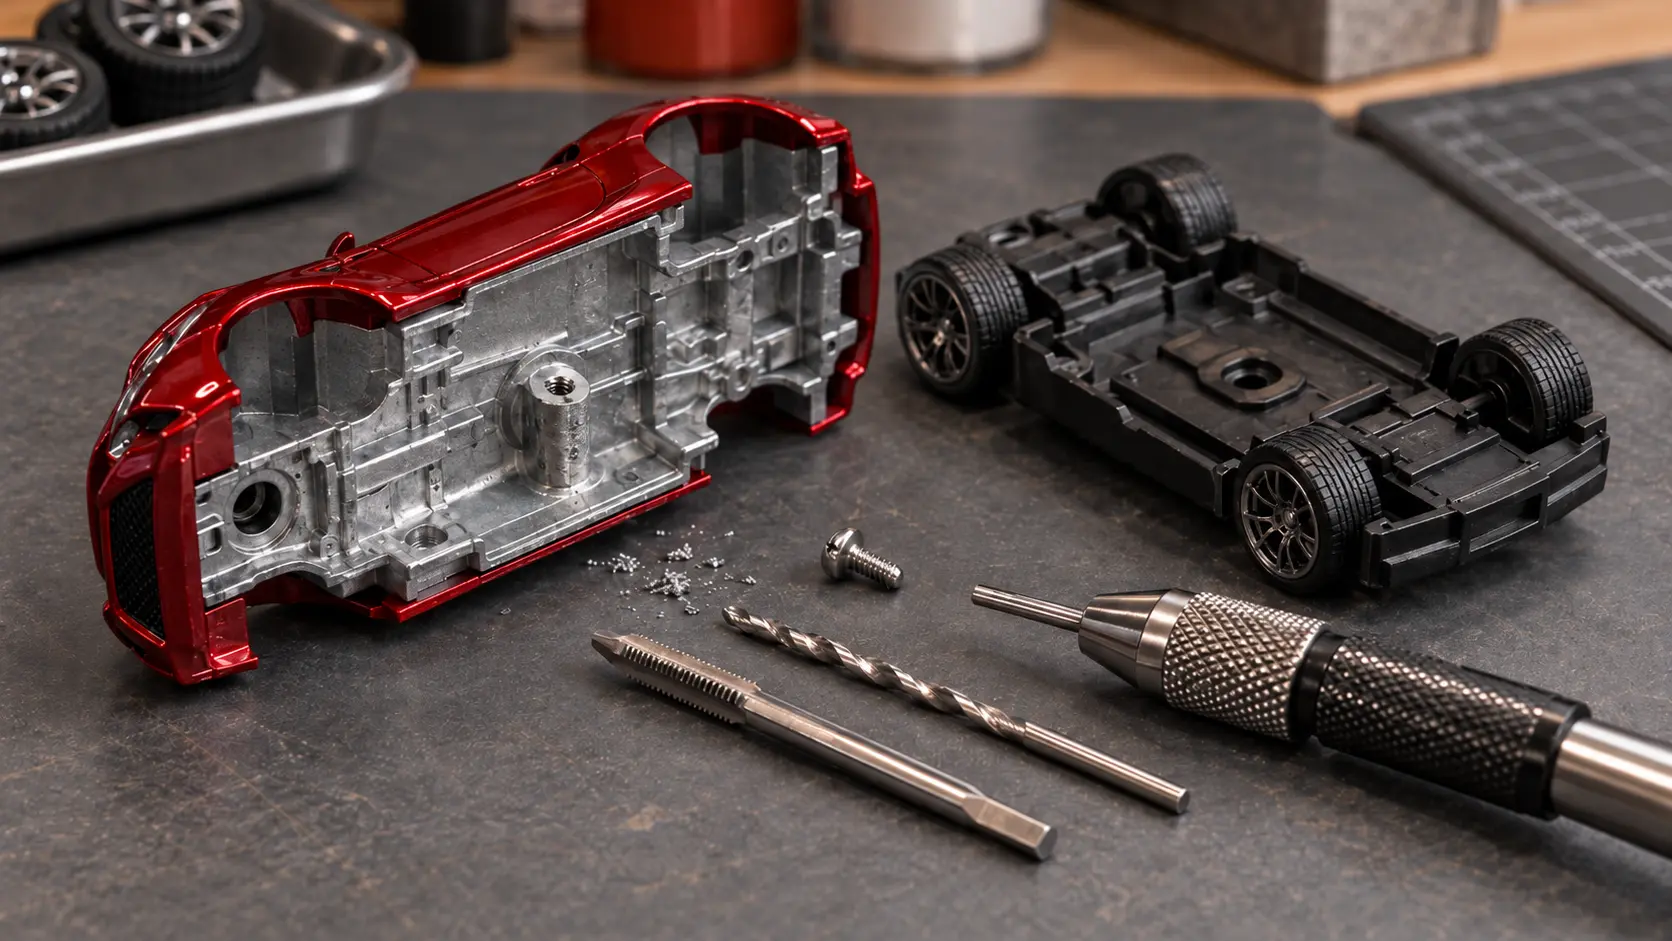
The Du-Bro 360 is the core of a reopenable custom: a 2-56 tap plus the drill bit matched to it. It turns a drilled rivet post into a threaded hole a small screw can grip, so the base can come off again for repaints, wheel changes or repairs. It is a core tool, not a complete Hot Wheels disassembly kit.
What You Get
- A 2-56 tap and its matching tap-drill bit (Du-Bro product 360)
- Du-Bro sells its taps and drills as matched pairs so you don’t have to work out which bit goes with which tap
- A T-style tap handle is sold separately
Why It Fits This Role
The hard part of a screwed-base build is drilling a pilot hole that’s the right size for the thread. Too small and the tap binds or breaks; too large and the screw has nothing to bite. A matched pair removes that guess for the 2-56 system, which is why it makes a sensible foundation for a repeatable workflow.
For reference, standard machinist charts list a #50 bit (0.070 in) as the tap drill for 2-56 threads, with #43 (0.089 in) or #41 (0.096 in) as clearance sizes. Those numbers belong to the 2-56 thread system, not to Hot Wheels castings. Other customizing systems use other screws and other bits.
What You’ll Still Need
- A tap handle or pin vise to turn the tap
- 2-56 screws in a length that suits the casting
- A screwdriver that fits those screws
- A larger bit to remove the rivet head and a clearance bit for the base hole
- A pin vise or low-speed drill, plus a way to hold the car steady
Where It Falls Short
- It’s a starting point, not a box of everything. Budget for the handle, screws and extra bits listed above.
- Not every post suits a 2-56 thread. A thin or partly hollow post may not have enough material to hold the thread; a smaller screw system can suit those castings better.
- Small taps are brittle. A tap snapped off inside a post is very hard to remove, so turn it gently, back it out often to clear chips, and keep it straight.
3. Mixed 22/25/28 mm Hollow Axle Kit
Buy it if: you customize several different castings and want options for both narrow and wide bodies.
Skip it if: you already know the exact axle length you need and would be better served by a casting-specific setup.
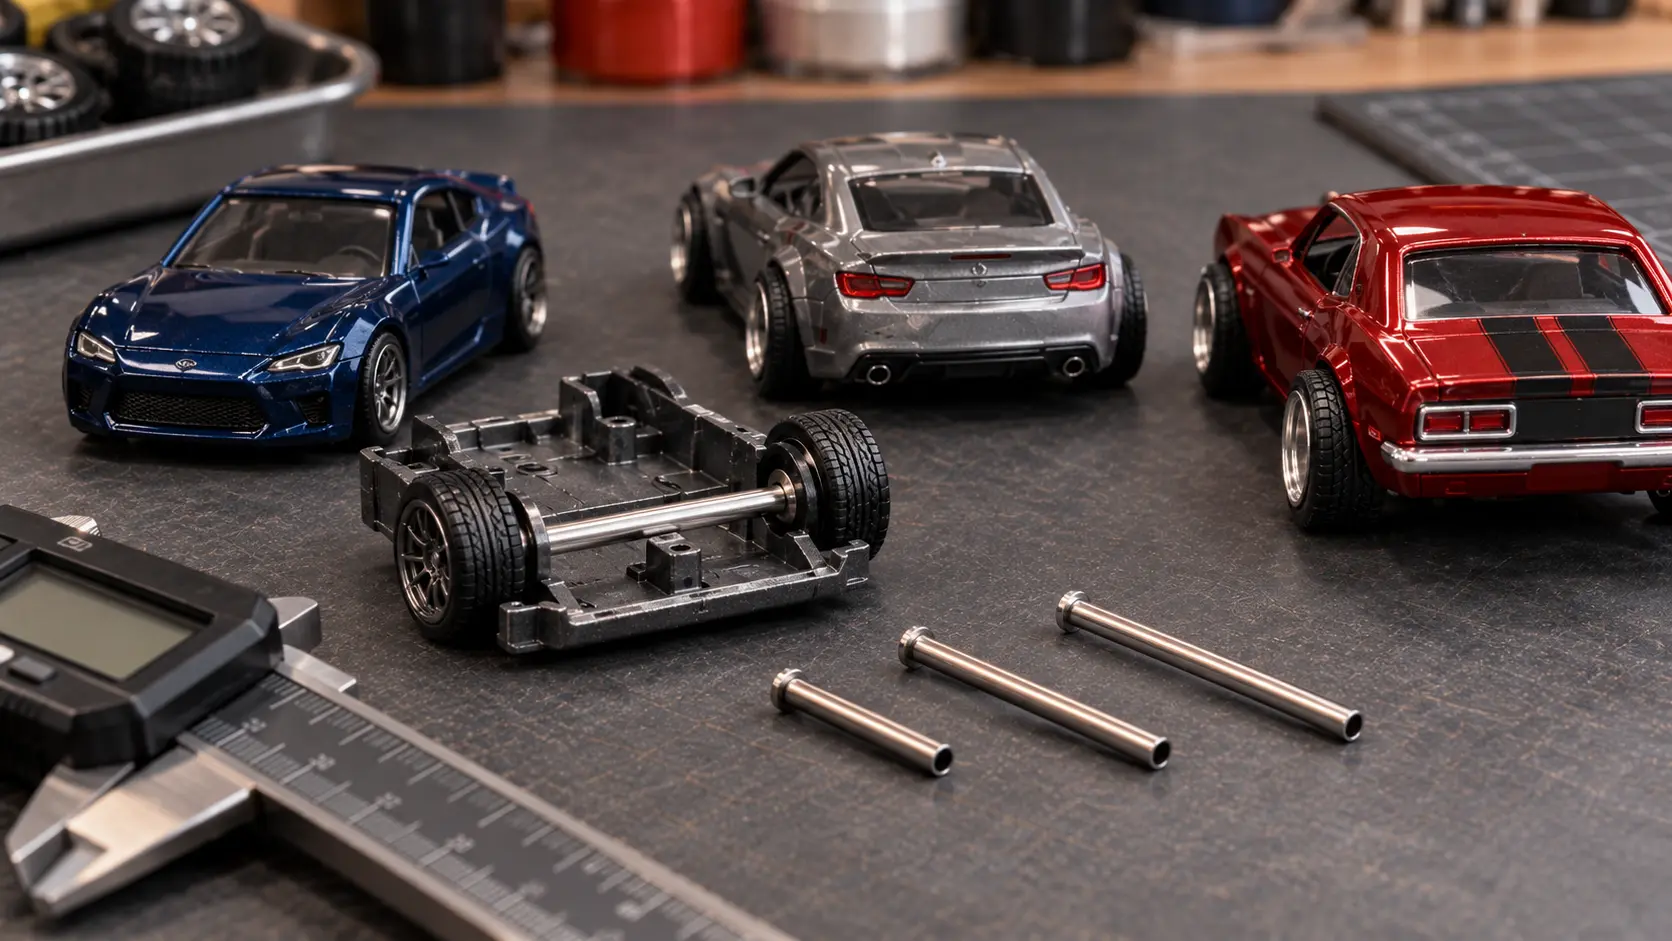
This 30-set kit gives you hollow axles in three lengths, which is what you want when the wheels you bought don’t sit right on the car you’re building. Instead of forcing one axle length onto every casting, you pick the length that gets the wheels where you want them, then trim if needed.
What You Get
- 30 axle sets in mixed lengths: 22 mm, 25 mm and 28 mm
- Hollow axle design, sold for 1:64 replacement and custom use
- Check the listing for how the 30 sets divide across the three lengths if you mostly build one body width
Why It Fits This Role
“1:64” describes scale, not a shared axle width. Body width, base shape, wheel-well openings and wheel offset all change how long an axle needs to be, and fronts and rears can differ on the same car. A mixed-length kit covers narrow and wide castings from one purchase. That flexibility is our editorial reading of the kit’s design rather than a tested result.
Where It Falls Short
- You still have to measure. Check the original axle, the inner wheel-well clearance, the wheel offset and the stance you’re after before choosing a length.
- Cutting may still be needed. Three lengths won’t hit every casting exactly, and a cut hollow axle can pinch or burr at the end. Clean the cut with a fine file before pressing wheels on.
- Not a casting-specific kit. If you already know the exact length your car needs, a single-length or casting-specific set avoids buying sizes you won’t use.
4. Printers Jack Waterslide Paper + Krylon Clear Acrylic
Buy it if: you want custom names, racing numbers, stripes, small logos or full liveries on your builds.
Skip it if: you only want a single stripe or color block; masking tape and paint will be quicker.
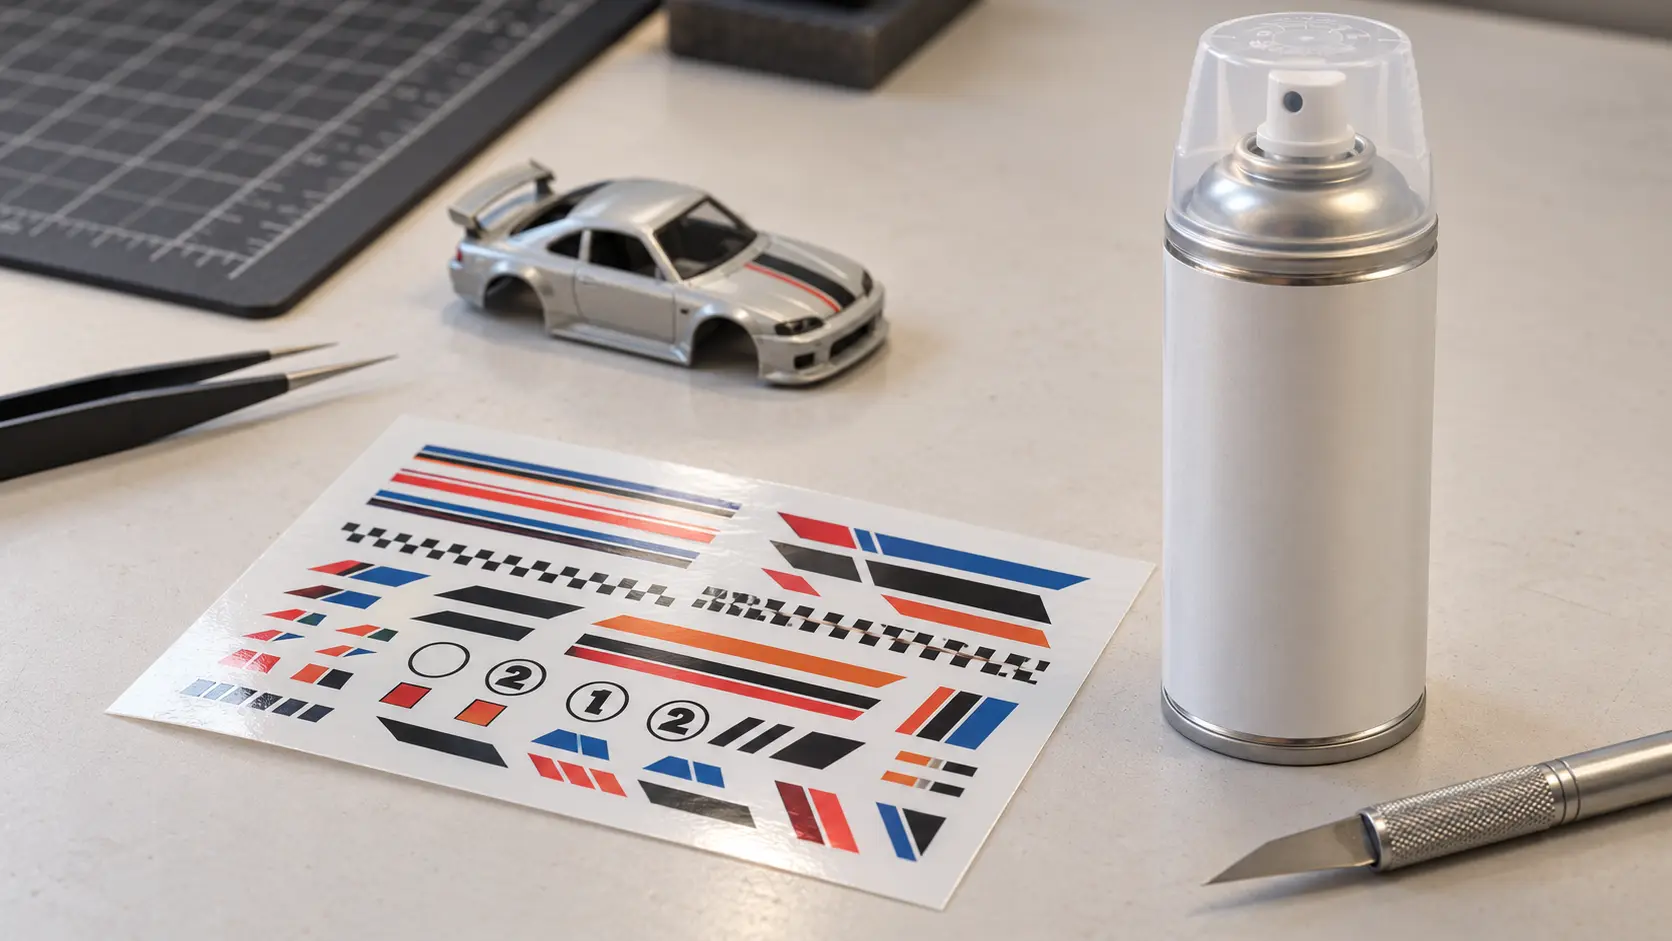
For custom graphics, Printers Jack clear inkjet waterslide paper handles the printing and Krylon Crystal Clear Acrylic handles the protection. These are two products sold separately, not a boxed kit. Printers Jack’s inkjet workflow requires the printed decal to be protected with a compatible clear acrylic coating before immersion; Krylon Crystal Clear Acrylic is the sealer selected for this guide.
What You Get
- Printers Jack Clear Inkjet Waterslide Decal Paper: 20 A4 sheets of clear decal film for inkjet printers
- Krylon K01303007 Crystal Clear Acrylic Coating: the clear acrylic sealer selected for this guide, bought separately. Other compatible clear acrylic sealers can fill the same role. Krylon identifies K01303007 as an 11 oz clear gloss acrylic coating that is non-yellowing and moisture-resistant and lists paper, plastic and metal among its suitable surfaces.
Why the Sealer Matters
Inkjet ink sits on the decal surface, and water can smear or lift it before the decal ever reaches the car. Inkjet waterslide instructions commonly require the printed image to be sealed with compatible clear acrylic or fixative before soaking. Krylon Crystal Clear Acrylic is the sealer selected for this guide, not the only one that can do the job.
The Workflow in Order
- Print the decal following the paper’s directions.
- Let the ink set as directed.
- Apply a compatible clear acrylic sealer, such as the Krylon selected here, following its directions for the number of coats.
- Let the coating cure as the can’s label directs.
- Cut the decal out close to the artwork.
- Soak and slide it into place following the waterslide paper’s directions.
Where It Falls Short
- More prep than stickers. Printing, sealing, cutting, soaking and positioning take time, and small decals take patience.
- Clear paper can’t print white. Inkjet printers don’t print white ink, so white areas of your design come out clear and light colors look faint on dark paint. Use a light base color under the decal, or a white decal film for those designs.
- A4 sheets on a US printer. Set the paper size to A4 in your print settings; the sheet is slightly narrower and longer than US Letter.
- Aerosol handling. Spray in a ventilated space and follow the label’s safety directions.
If you want a reference for how detailed factory graphics can get at this scale, the tampos on our picks for the best Hot Wheels Car Culture sets are worth studying before you design your own.
5. SE 744DF-R Diamond Needle Files
Buy it if: you want controlled cleanup for posts, fenders and small casting imperfections.
Skip it if: your projects regularly need fast, heavy material removal; a rotary tool with burrs suits that better.
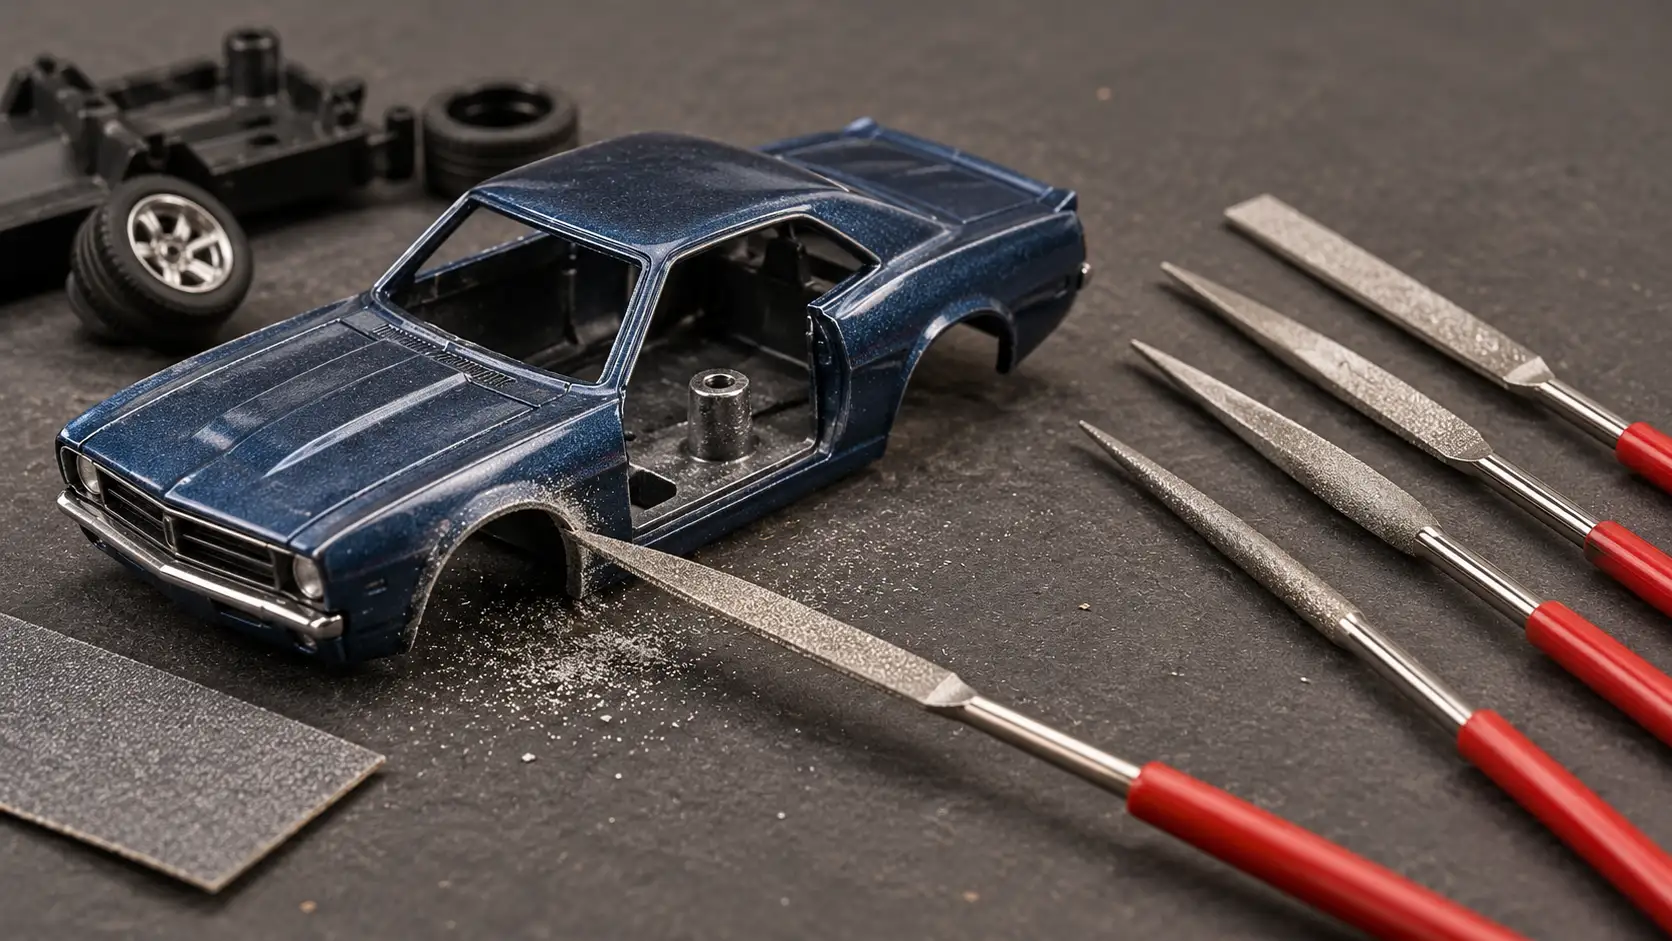
The SE 744DF-R gives you ten small diamond-coated files for jobs where a rotary tool would take off too much, too fast. On a diecast custom, that means flattening drilled posts, easing a wheel arch open a little and tidying small casting flaws without gouging the body.
What You Get
- 10 diamond needle files, 150 grit
- Profiles include barrette, crossing, equaling, knife, warding, square, three-square, half-round, tapered round and round
- No rotary burrs; this is a hand-file set only
Why It Fits This Role
Hand files remove a little material per stroke, so you can stop the moment a post sits flush or a fender clears the tire. That control is our editorial reasoning about hand tools versus powered ones, not a measured comparison. The mix of profiles matters too:
- Round and tapered round: opening holes and widening tight wheel arches
- Half-round: following curved fender lips
- Equaling, barrette and other flat profiles: flattening post tops so the base sits level
- Three-square, knife and square: corners, slots and tight edges
Where It Falls Short
- Slower than a powered rotary tool. Heavy material removal, like cutting a large fender opening, takes a long time by hand.
- 150 grit leaves visible scratches. Follow with finer sandpaper before primer, or the marks can show through paint.
- Burrs are a separate purchase. If you later want faster, more aggressive removal, micro rotary burrs are an optional add-on tool, not part of this set.
- Metal dust. File over a tray and wipe the dust up rather than blowing it around the bench.
6. TIMBERTECH AS18-2K Airbrush Kit
Buy it if: you’re moving past spray cans and plan to repaint bodies regularly, including multi-color or fade work.
Skip it if: you only plan the occasional single-color repaint and don’t want compressor setup, paint thinning, cleaning and airbrush maintenance.
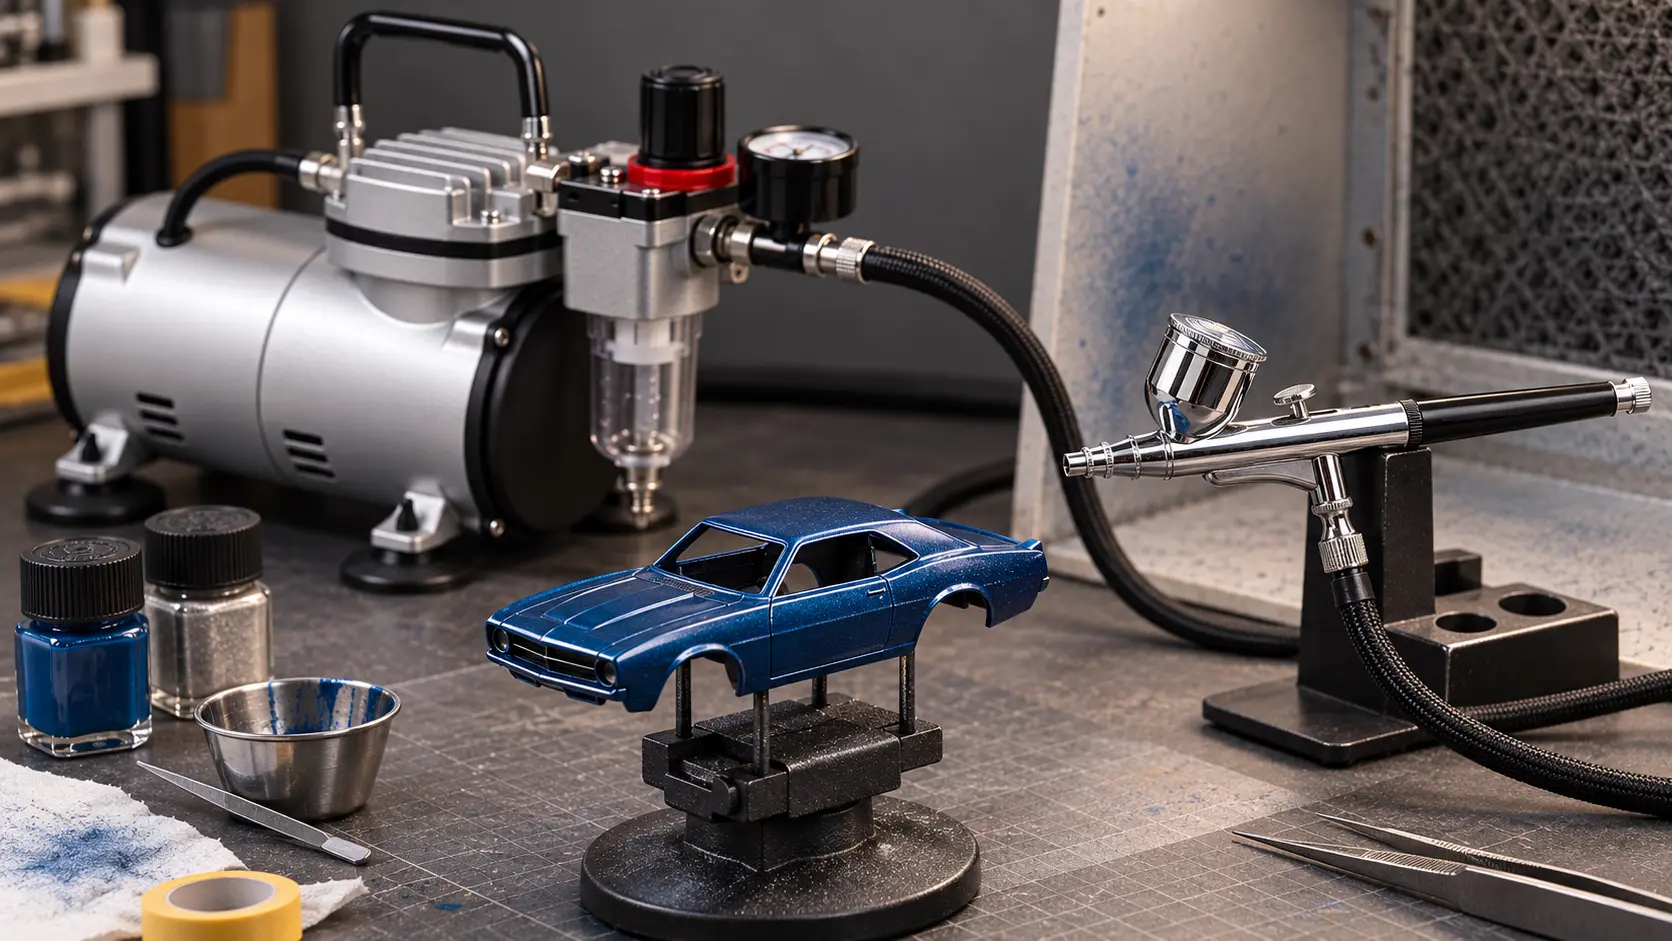
The TIMBERTECH AS18-2K bundles the core spraying hardware needed to start airbrushing a diecast body: an airbrush, a compressor and the hose that joins them. It’s the right step once spray cans stop giving you the control you want, not before.
What You Get
- The full listing name is “Timbertech Airbrush Kit With Compressor AS18-2K Basic Start Kit With Air Hose, Cleaning Brushes, and Test Paints” (also seen as AS182K)
- Compressor, airbrush, air hose, cleaning brushes and a set of test paints
- A dual-action, gravity-feed airbrush with a 0.3 mm needle and nozzle, plus a compressor with automatic start/stop, a pressure regulator with gauge and a moisture trap
Dual-action means one trigger controls both air by pressing down and paint flow by pulling back. Gravity-feed means the paint cup sits on top and feeds downward, which suits the small paint volumes used on 1:64 bodies. Auto start/stop means the compressor switches off when it reaches pressure and restarts when needed instead of running the whole session.
Why It Fits This Role
A 1:64 body is small, and thick coats can soften panel lines and fine casting detail. With suitable paint, pressure and technique, an airbrush can apply controlled thin coats that reduce the risk of burying fine casting detail. For customizers planning repeated repaints, a compressor-fed setup can also make more sense than buying a spray can for every color. Both points are editorial analysis, not HotWheelsHub test results.
About the Paint
The included bottles are test paints for getting started. They are not a full hobby or model acrylic range, so plan to buy airbrush-ready hobby acrylics separately, or paints you can thin to the maker’s directions. You’ll also need the usual prep supplies: paint stripper, primer, masking tape and sanding materials.
Where It Falls Short
- Cleaning every session. Paint left to dry in a 0.3 mm nozzle clogs it, so strip-down and cleaning become part of every paint job.
- A real learning curve. Thinning ratios, air pressure, spray distance and trigger control all take practice before results look even.
- Workspace demands. You’ll want ventilation, a place for overspray to go and respiratory protection suited to the paint you use.
- Test paints only. Budget for proper hobby paint before your first real project.
Customizer Guide & Build Science
Many conventional drill-and-reassemble wheel swaps begin by removing the base, which gives access to the axle area. The three techniques below cover that step, fitting new axles and protecting custom graphics. They describe general customizing technique, not HotWheelsHub test procedures.
Drilling Rivet Posts Safely
The goal is to remove only the flared rivet head, free the base and leave enough post behind to thread for a screw. Drill sizes depend on the fastening system you choose, so there’s no single bit size for every Hot Wheels casting.
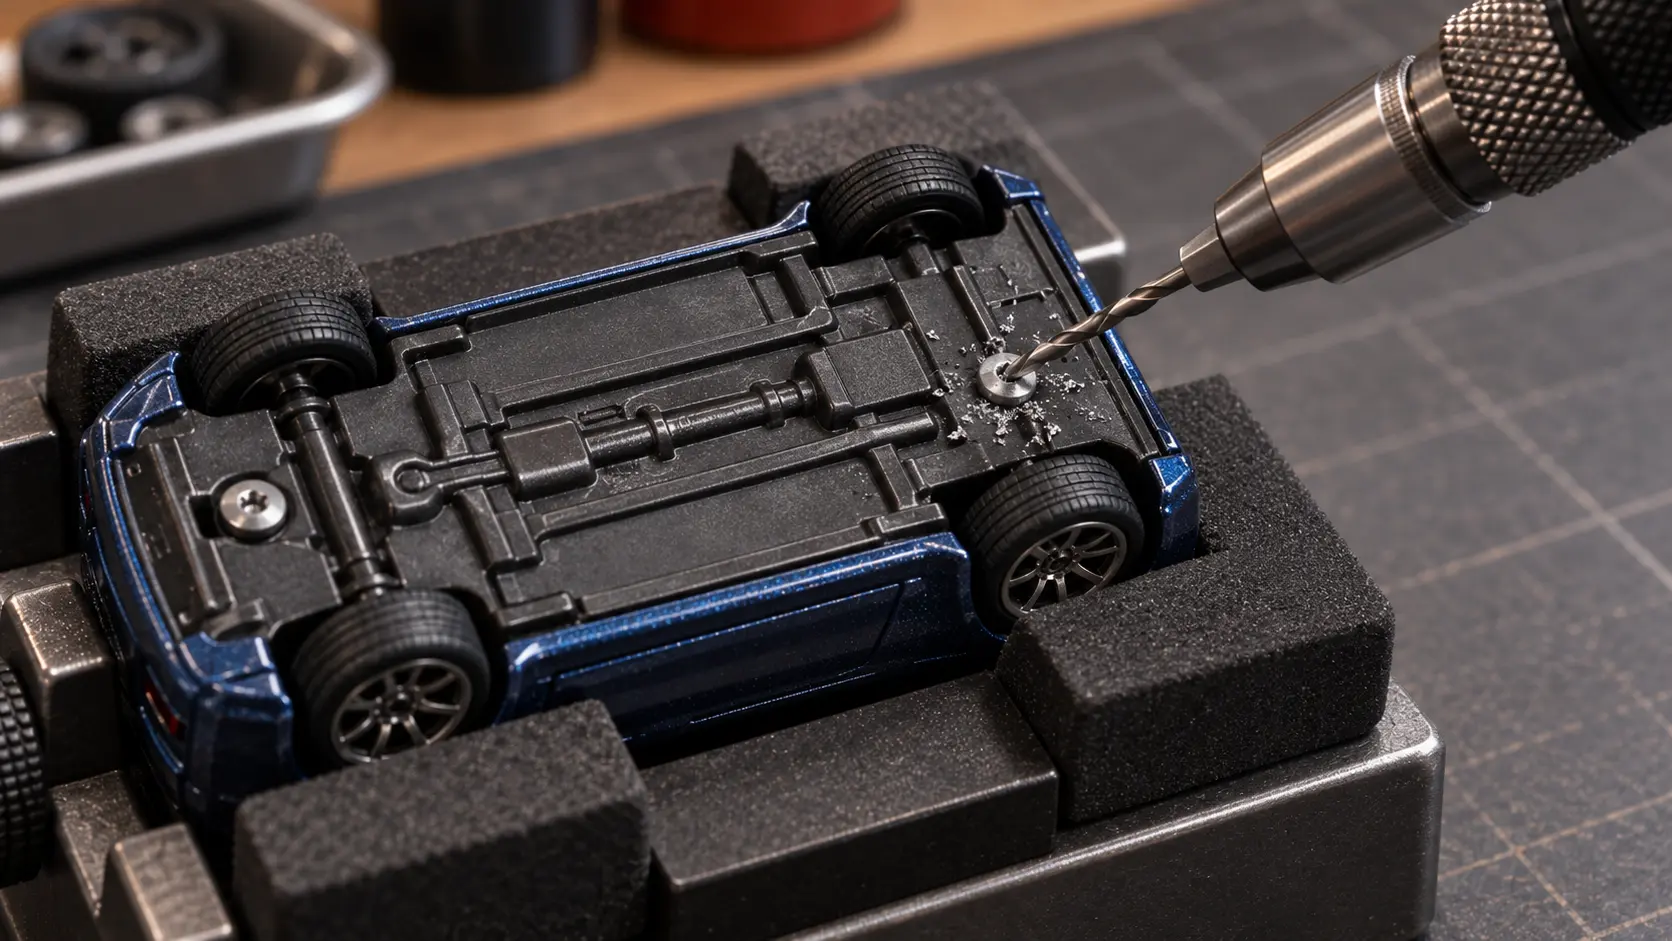
- Check the car first. Confirm it isn’t a collectible you’d rather keep, as covered in the caution near the top of this guide.
- Hold it securely. Use a padded vise or jig and wear eye protection. A car that spins under the bit is how bodies get scratched and fingers get hurt.
- Center the bit. Make a small starting dimple in the middle of the rivet head so the bit doesn’t wander onto the base.
- Remove only the head. Drill slowly and stop as soon as the base lifts. Going deeper weakens the post and can push the bit into the body.
- Lift the base gently. Windows, interiors and other plastic parts can be held in place by the base. Note or photograph how they stack before anything falls out.
- Drill the pilot into the post. Use the tap-drill size specified for your screw system. For a 2-56 setup, standard charts list a #50 bit (0.070 in). Keep the bit straight and shallow, and don’t drill toward the outer body surface.
- Tap the post. Turn the matching tap gently, backing it out often to clear chips.
- Open the base hole to clearance size. The screw should pass freely through the base and thread only into the post. For 2-56, charts list #43 (0.089 in) or #41 (0.096 in).
- Test-fit the screw. If the base doesn’t sit flat, check the post top and the screw length. A flat needle file can level a post that sits proud.
If a post looks too thin to hold a 2-56 thread, a smaller screw system may suit that casting better. Use the drill sizes that belong to whichever system you choose.
Axle Trimming & Stance Sizing
“1:64” is a scale, not a standard axle width, so measure the car you’re building rather than assuming one length fits everything. Fitment changes with body width, base geometry, wheel-well openings, wheel offset, tire width, the stance you want and differences between front and rear.
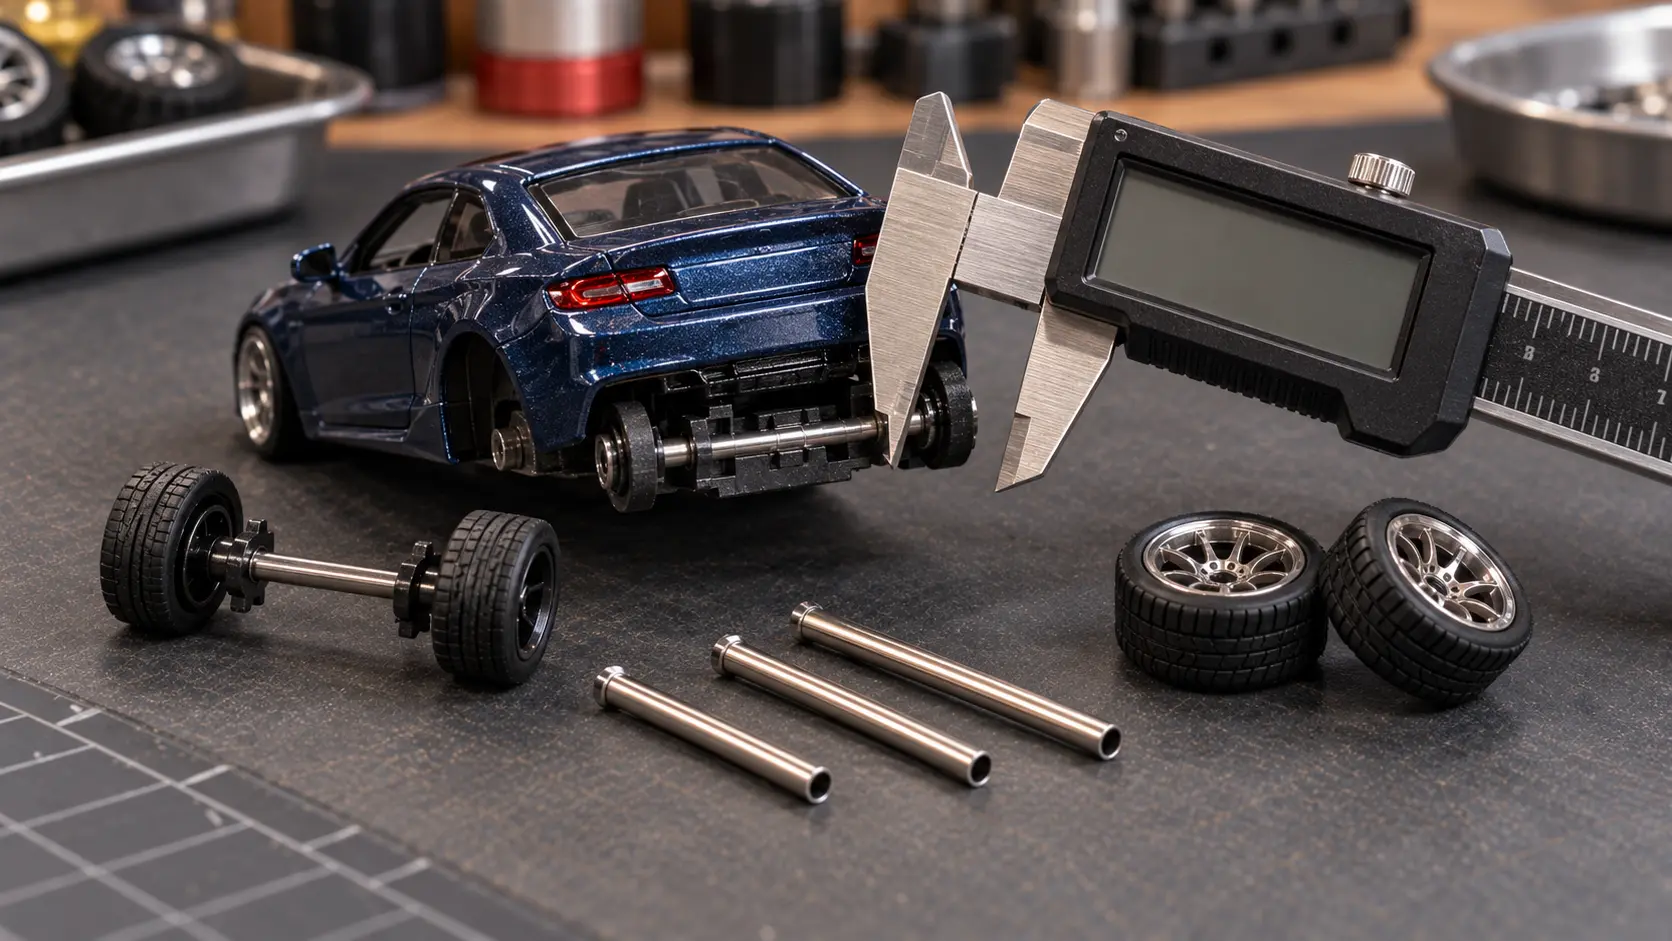
- Measure the original axle. Calipers make this easy, but a fine ruler works. This is your baseline.
- Check inner clearance. Look at how much room the wheel wells give before a tire rubs the body or base.
- Account for offset. Aftermarket wheels can sit further in or out on the axle than the factory wheels did.
- Decide on stance. Flush with the fenders, tucked under them or pushed out is a style choice, and it changes the length you need.
- Pick the nearest length and test-fit. With a mixed kit, start from the size closest to your baseline. If you must cut, take a little off at a time.
- Clean the cut. A trimmed hollow axle can pinch or burr at the end. A light pass with a fine file helps the wheel press on straight.
No kit guarantees flush fitment without measuring. Front and rear axles may also need different lengths on the same car.
Decal Sealing & Clear Coating
Seal an inkjet waterslide print before it touches water, because water can smear or lift ink that isn’t protected. Inkjet waterslide instructions commonly require the printed image to be sealed with compatible clear acrylic or fixative before soaking. Follow the current paper and sealer directions for the number of coats, drying time and curing time.
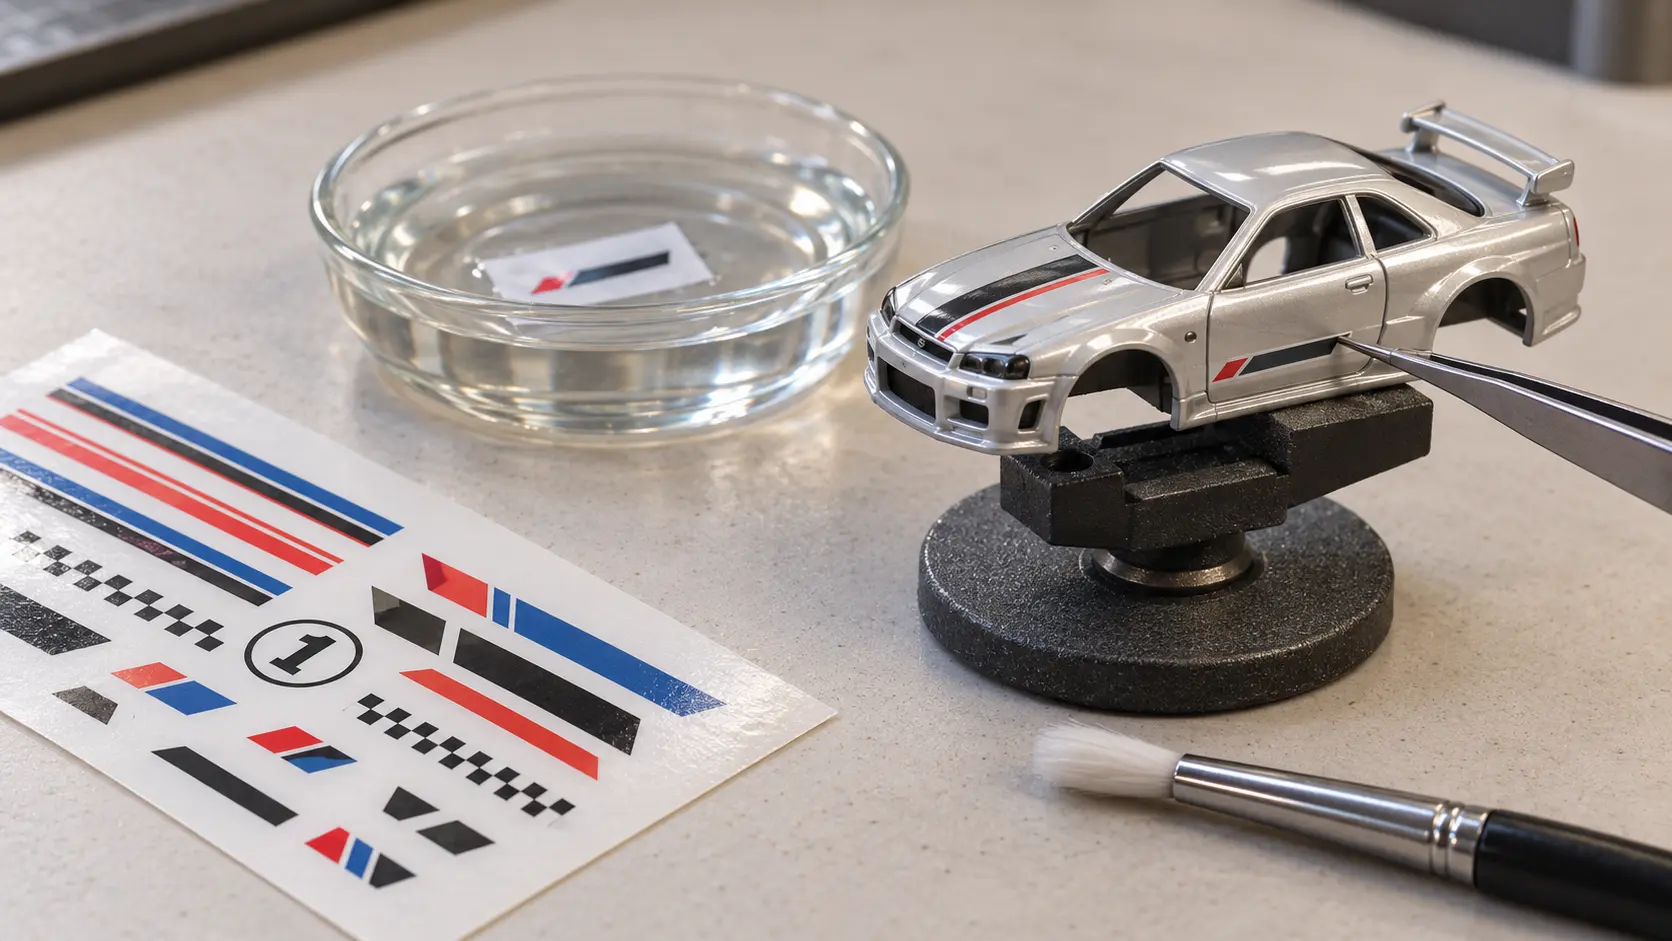
- Thin coats over heavy ones. Light passes are less likely to run, pool or blur fine lines.
- Follow the label for timing. Let the ink set and the sealer cure as the paper and can directions say before you cut or soak. Rushing this step risks smearing the decal.
- Apply over a smooth, glossy surface. Rough or matte paint can trap air under the clear film, which shows as silvery patches known as silvering, so a smooth gloss surface gives the decal a better base.
- Plan for white. Clear inkjet paper can’t print white, so put light-colored designs on a light base, or use white decal film.
- Protect the finished decal. An appropriate compatible clear topcoat can help unify the final sheen and protect the finished decal from handling. Test the finish on a scrap decal first because different paints, sealers and topcoats may react differently.
Which Setup Suits Which Customizer?
Start with the smallest setup that handles the job you have now, and add tools as your projects grow. No beginner needs all six categories on day one.
| If you want to… | Start with | Also plan for |
|---|---|---|
| Swap wheels on a few loose cars | WAVEIST HW01 rubber wheels + the mixed hollow axle kit | A drill and bit to free the base, calipers or a fine ruler, basic hand tools |
| Build cars you can reopen | Add the Du-Bro 360 2-56 Tap and Drill Set | Tap handle, 2-56 screws, matching driver, rivet-head and clearance bits |
| Add names, numbers and liveries | Add Printers Jack waterslide paper + Krylon Crystal Clear Acrylic | A glossy surface to apply onto, a clear topcoat, a light base for light-colored designs |
| Reshape posts, fenders and edges | Add the SE 744DF-R diamond needle files | Finer sandpaper before paint |
| Repaint full bodies | Add the TIMBERTECH AS18-2K airbrush kit | Hobby acrylics, thinner, stripper, primer, masking, ventilation |
On smaller screens, swipe the table horizontally to compare all columns.
- For the fastest wheel-swap start, the WAVEIST pack gives you rubber tires for several builds, as long as you check fit car by car.
- For reopenable castings, the Du-Bro 360 is the core, with fasteners and handle sourced separately.
- For stance and width fixes, the mixed hollow axle kit gives you three starting lengths to measure against.
- For liveries and custom graphics, the Printers Jack and Krylon pairing covers printing and sealing.
- For controlled physical cleanup, the SE needle files trade speed for control.
- For full body repaints, the TIMBERTECH AS18-2K makes sense once you’re painting often enough to justify the setup and cleaning.
When a build is finished, our guides to the best 1:64 diorama garages and displays and the best Hot Wheels display shelves cover ways to show it off.
Technical Reference
This guide is based on editorial research and product verification. Product pages used during research are not listed here as public references; Amazon links above are affiliate shopping links, not citations.
- Drill and Tap Chart (Inch), University of Pennsylvania MEAM Labs: general 2-56 tap-drill and clearance-size reference.
Technique notes are general guidance rather than HotWheelsHub test procedures. Follow the instructions supplied with the tools, coatings and materials you use.